

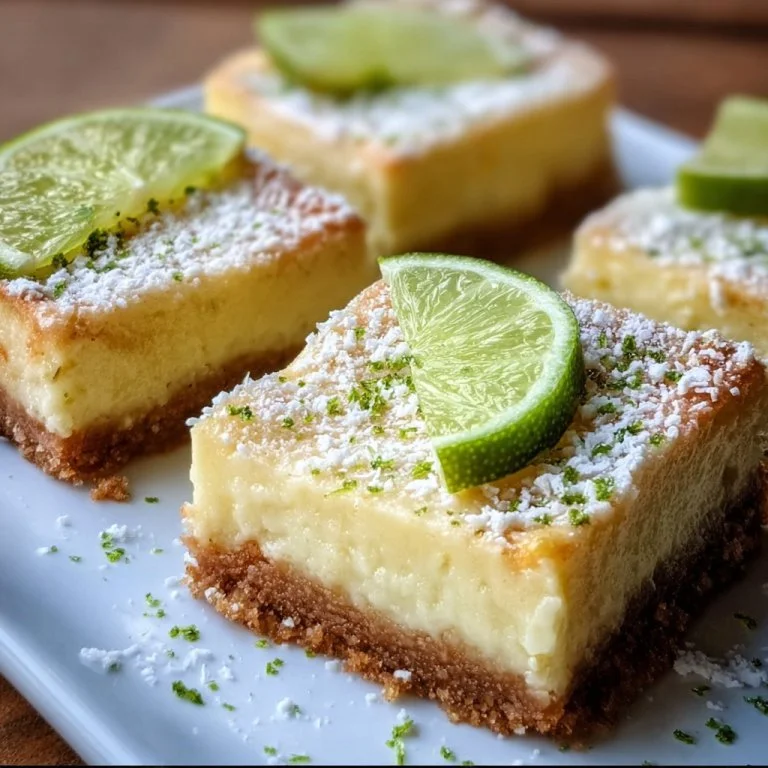
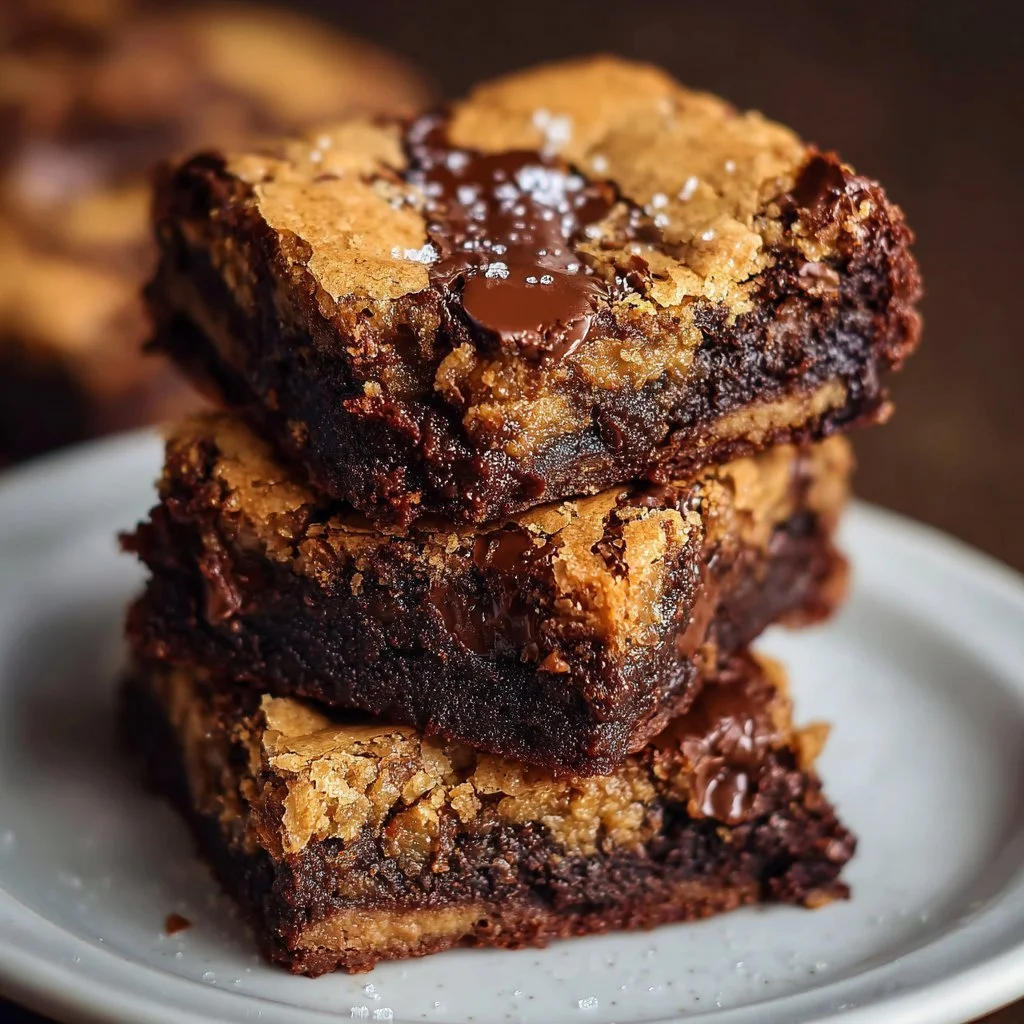
Baked Nutella Bombs are delightful treats that promise to impress every chocolate lover. Imagine warm, golden-brown pastries bursting with creamy Nutella, dusted with sugar for an extra sweet touch. They are perfect for any occasion, from casual family gatherings to festive celebrations, bringing joy with every bite and a smile to everyone’s face.
The sensory experience of biting into these warm pastries is simply heavenly—the gooey chocolate center enveloped by soft biscuit dough creates a comforting texture and rich flavor. In this article, you’ll find everything you need to know to whip up these scrumptious bites, from ingredient choices to step-by-step instructions. So, let’s dive into the delicious world of Baked Nutella Bombs!
Why You’ll Love This Recipe
- Fresh Ingredients: Use simple ingredients you can easily find at the grocery store.
- Ease of Preparation: This recipe is simple enough for beginners, yet impressive enough for experienced bakers.
- Nutritious Options: With Nutella, you can explore healthier alternatives, such as reduced sugar options.
- Versatility: You can customize these bombs with various fillings or toppings to suit your taste.
- Presentation: They look beautiful on any dessert platter, making them a great addition to gatherings.
You will find yourself reaching for this recipe again and again!
Preparation and Cooking Time
- Total time: 25 minutes
- Preparation time: 10 minutes
- Cooking time: 15 minutes
(Note that times may vary.)
Ingredients You’ll Need
Making Baked Nutella Bombs starts with selecting the right ingredients for a delightful treat.
Refrigerated Biscuit Dough
- This serves as the main base for your bombs, providing a soft and flaky outer layer.
- Simply pop open the can and separate the dough into individual biscuits.
- If you’re looking for an alternative, you can use crescent roll dough for a different texture.
- Be cautious not to let the dough sit out too long, as it may become too warm and hard to handle.
Nutella
- Nutella adds that delicious chocolate-hazelnut flavor that makes the bombs irresistible.
- Simply scoop a tablespoon and place it in the center of each biscuit.
- If you’re looking for an alternative, try using chocolate spread or peanut butter.
- Make sure to close each biscuit securely around the Nutella to avoid leaks during baking.
Sugar for Sprinkling
- Sugar enhances the sweetness and gives a nice finish to the baked bombs.
- Simply sprinkle a bit on top right before they go in the oven.
- If you’re looking for an alternative, consider using cinnamon sugar for added flavor.
- Be sure not to oversugar; a light dusting goes a long way in enhancing taste.
Melted Butter for Brushing
- Brushing melted butter on the tops before baking helps achieve a golden color and a rich flavor.
- Melt a few tablespoons and use a pastry brush gently.
- If you’re looking for an alternative, you can substitute with coconut oil for a different taste.
- Make sure the butter isn’t too hot before brushing, as it can melt the dough.
Optional: Chocolate Chips or Hazelnuts for Garnish
- Adds a nice touch of decoration and flavor contrast.
- Simply sprinkle on top before baking or mix into the filling.
- If you’re looking for an alternative, try chopped almonds or even dried fruit.
- Use only sparingly to avoid overpowering the Nutella flavor.
Step-by-Step Instructions
Baked Nutella Bombs are a one-pan delight that come together quickly and easily.
Step 1: Preheat Your Oven
Start by preheating your oven to 350°F (175°C). This ensures your bombs will bake evenly and achieve that perfect golden color.
Step 2: Prepare Your Baking Sheet
Line a baking sheet with parchment paper to prevent sticking. This step makes cleanup much easier.
Step 3: Prepare the Biscuit Dough
Open the can of refrigerated biscuit dough and separate each biscuit. You want to treat each one as a mini pastry.
Step 4: Fill with Nutella
Place a tablespoon of Nutella in the center of each biscuit. Don’t skip this step, as a generous filling leads to that delightful explosion of flavor!
Step 5: Seal the Biscuits
Carefully pinch the edges of the dough together to seal the Nutella inside. Make sure they’re closed tightly to avoid any leaks during baking.
Step 6: Brush with Butter
Using a pastry brush, lightly brush the tops of each biscuit with melted butter. This will help them brown nicely in the oven.
Step 7: Sprinkle with Sugar
Sprinkle a little sugar on top for extra sweetness. This adds to the aesthetic and taste factor when they bake!
Step 8: Bake
Place the baking sheet in the preheated oven and bake for about 15 minutes until they are golden brown. Watch for a slightly puffed shape to indicate doneness.
Step 9: Let Cool
Once baked, let them cool for a few minutes on the baking sheet. This allows the filling to set, making them easier to handle.
How to Serve
- Presentation: Serve these Baked Nutella Bombs warm on a beautiful platter for a stunning display.
- Accompaniments: Pair them with fresh berries or a scoop of vanilla ice cream for a delicious contrast.
- Portions: Two to three bombs per person is usually a good serving size, considering their richness.
- Beverage Pairing: Enjoy them with a cup of coffee or a glass of milk to balance out the sweetness.
These bombs are great for any occasion and quite easy to share.
Additional Tips
- For a flavor enhancement, consider adding a pinch of salt to the melted butter for a contrasting taste.
- Customize them by adding a dollop of your favorite fruit jam along with the Nutella.
- For serving suggestions, try topping with whipped cream or drizzle with chocolate sauce.
Recipe Variations
- Peanut Butter Bombs: Replace Nutella with peanut butter or a nut butter of your choice for a tasty twist.
- S’mores Style: Add mini marshmallows and crushed graham crackers inside the biscuits for a camping-inspired treat.
- Fruit-Filled: Swap Nutella for your favorite fruit preserves for a refreshing fruit explosion.
Freezing and Storage
- Storage: Place leftover Baked Nutella Bombs in an airtight container in the refrigerator, where they can last for up to three days.
- Freezing: For longer storage, wrap them tightly in plastic wrap and store in the freezer for up to three months. Reheat in the oven for that fresh-baked taste.
Special Equipment
- Baking sheet
- Parchment paper
- Pastry brush
- Mixing spoon
- Measuring spoon
- Can opener
FAQ’s
Q1: Can I use frozen biscuit dough?
Absolutely! Frozen biscuit dough works well; just thaw it according to package instructions before using.
Q2: Are there any dietary restrictions to consider?
These treats contain dairy and gluten; if you require a gluten-free version, opt for gluten-free biscuit dough.
Q3: Can I make these ahead of time?
Yes, you can assemble the bombs in advance and refrigerate them until you’re ready to bake.
Q4: How can I customize the flavor?
Feel free to mix in different ingredients such as spices or extracts to add your personal touch.
Q5: Can I bake these in an air fryer?
Yes, you can air fry them at around 325°F (160°C) for roughly 10 minutes, checking often to avoid over-baking.
Conclusion
Baked Nutella Bombs are the ideal balance of easy preparation and impressive results. These bite-sized treats are perfect for celebrations or simply indulging after a long day. With their rich flavor and warm, inviting appearance, they’re sure to delight anyone who tries them! Get ready to enjoy these delightful pastries at your next gathering!


Baked Nutella Bombs
Ingredients
Main Ingredients
- 1 can Refrigerated Biscuit Dough This serves as the main base for your bombs, providing a soft and flaky outer layer.
- 1 tablespoon Nutella Adds a delicious chocolate-hazelnut flavor.
- 1 tablespoon Sugar for Sprinkling Enhances sweetness and gives a nice finish.
- 2 tablespoons Melted Butter for Brushing Helps achieve a golden color and rich flavor.
- optional Chocolate Chips or Hazelnuts for Garnish Adds decoration and flavor contrast.
Instructions
Preparation
- Preheat your oven to 350°F (175°C).
- Line a baking sheet with parchment paper.
- Open the can of refrigerated biscuit dough and separate each biscuit.
- Place a tablespoon of Nutella in the center of each biscuit.
- Carefully pinch the edges of the dough together to seal the Nutella inside.
- Lightly brush the tops of each biscuit with melted butter.
- Sprinkle a little sugar on top for extra sweetness.
Baking
- Place the baking sheet in the preheated oven and bake for about 15 minutes until they are golden brown.
- Let them cool for a few minutes on the baking sheet before serving.


Did you make this recipe?
Share a photo and tag us, we can’t wait to see what you’ve made!