

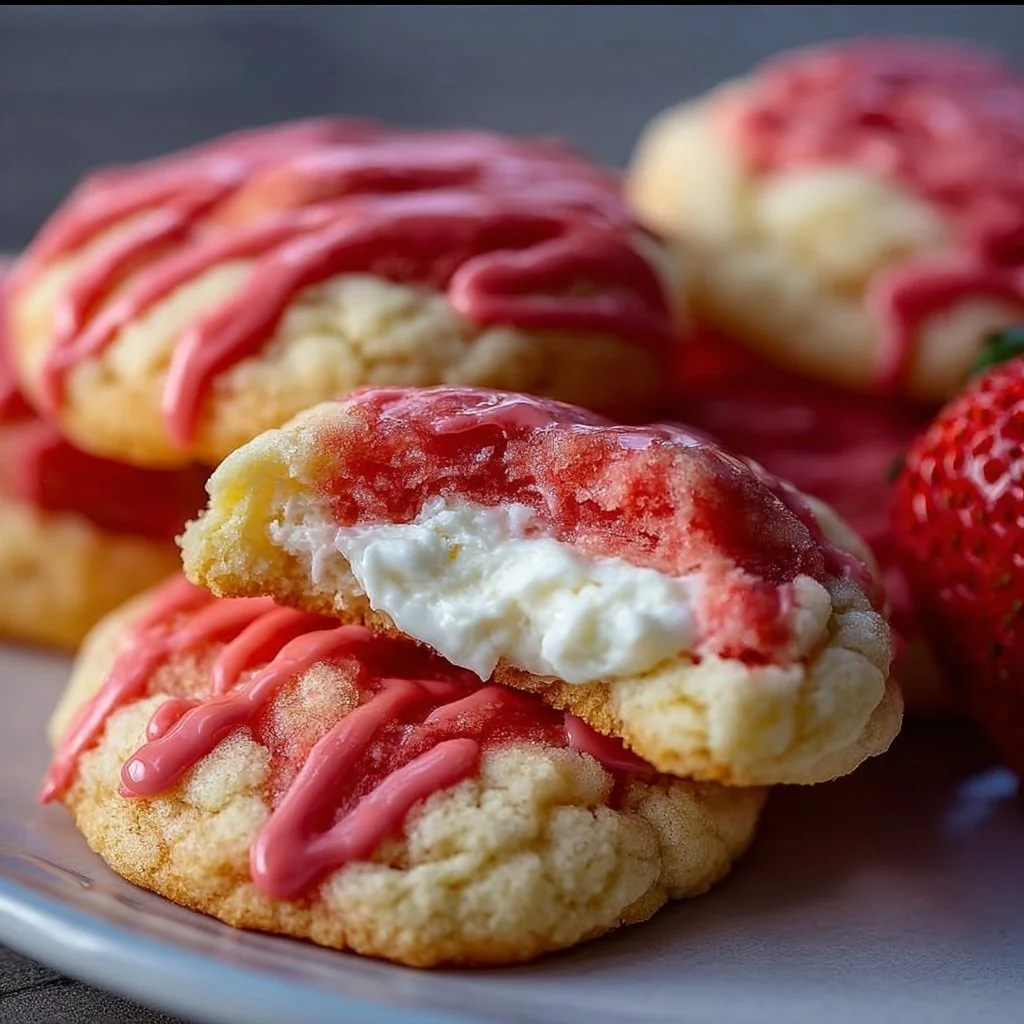
Cream Cheese Oreo Protein Balls are the perfect blend of indulgence and nutrition, making them a delightful treat for any occasion. Imagine biting into a soft, creamy ball that packs the rich flavor of Oreos mixed with the wholesome goodness of protein. These little power snacks are not only visually appealing with their chocolatey coating but also a great way to satisfy your sweet cravings while fueling your body!
As you take your first bite, the smooth cream cheese and crunchy Oreo crumbs dance on your taste buds, creating a delightful sensory experience. This article will guide you through creating these scrumptious protein balls, from the ingredients you’ll need to how to serve them. Get ready to whip up a treat that everyone will love!
Why You’ll Love This Recipe
- Fresh Ingredients: Made with simple, wholesome ingredients that you can trust.
- Ease of Preparation: Quick and straightforward steps make it perfect for any skill level.
- Nutrition: Packed with protein, offering a satisfying snack without the guilt.
- Versatility: Customize with various mix-ins for endless options.
- Presentation: Beautiful and fun, perfect for parties or as a gift.
You’ll enjoy making these delicious bites for any gathering!
Preparation and Cooking Time
- Total time: 1 hour 15 minutes
- Preparation time: 15 minutes
- Cooking time: 0 minutes
Ingredients You’ll Need
- 8 oz cream cheese, softened
- 15–20 Oreos, crushed
- 1 cup protein powder
- 2–3 tablespoons milk
- 1 teaspoon vanilla extract
- Pinch of salt
- Optional: chocolate chips, nuts, or coconut
How To Make Cream Cheese Oreo Protein Balls
- Crush Oreos into fine crumbs.
- Mix with softened cream cheese until smooth.
- Gradually add protein powder, stirring well.
- Adjust with milk until a dough forms.
- Add vanilla, salt, and any mix-ins you choose.
- Roll the mixture into balls and chill for one hour.
- Optional: coat in Oreo crumbs or coconut before serving.


How to Serve
- Presentation: Arrange the protein balls on a colorful plate for an eye-catching display.
- Accompaniments: Pair them with fresh fruit or a yogurt dip for added flavor.
- Portions: Perfectly sized for quick snacks or energy boosts, serve 1-2 per person.
- Beverage Pairing: Enjoy with a glass of milk or a smoothie for a complete treat!
These bites are fantastic on their own or as part of a snack spread!
Additional Tips
- Experiment with different mix-ins like peanut butter, dried fruits, or seeds to enhance flavor.
- Customize sweetness by adjusting the amount of crushed Oreos or adding a drizzle of honey.
- Serve with a sprinkle of cocoa powder or shredded coconut for an attractive finish.
Recipe Variations
- Peanut Butter Oreo Balls: Swap in peanut butter for cream cheese for a nutty twist.
- Mint Chocolate Oreo Balls: Add mint extract for a refreshing flavor that mimics a mint dessert.
- Fruit-Filled Protein Balls: Incorporate dried fruits like cranberries or raisins for a chewy texture.
Freezing and Storage
- Storage: Keep the protein balls in an airtight container in the refrigerator for up to a week.
- Freezing: For longer storage, freeze in a single layer on a baking sheet, then transfer to a freezer bag. They can be enjoyed for up to three months!
Special Equipment
- Mixing bowl
- Measuring cups
- Spoon or spatula
- Baking sheet
- Plastic wrap or lid for storage
FAQ’s
1. Can I use frozen ingredients?
Yes, you can use frozen cream cheese, but make sure to let it thaw completely before mixing for the best texture.
2. Is this recipe suitable for dietary restrictions?
You can easily adjust this recipe for gluten-free diets by using gluten-free Oreos and vegan protein powder if needed.
3. Can I make these protein balls in advance?
Absolutely! They are perfect for make-ahead snacks. Simply prepare and store them in the fridge or freezer.
4. How can I customize these protein balls?
Feel free to change the flavor by adding different extracts or using nut butters as a base instead of cream cheese.
5. Are there alternative cooking methods?
Since these protein balls don’t require cooking, they can be easily adapted to your taste preferences without the need for heat!
Conclusion
Cream Cheese Oreo Protein Balls blend delicious flavors and nutritional benefits, making them a delightful treat for anyone! Whether you’re planning a party, looking for an energy boost, or simply craving a sweet snack, these protein balls fit the bill. Enjoy the joy of making them and sharing them with friends and family. Happy snacking!
{image_template}

Cream Cheese Oreo Protein Balls
Ingredients
Main Ingredients
- 8 oz cream cheese, softened
- 15-20 pieces Oreos, crushed
- 1 cup protein powder
- 2-3 tablespoons milk
- 1 teaspoon vanilla extract
- 1 pinch salt
Optional Mix-Ins
- chocolate chips For added sweetness
- nuts Chopped, for crunch
- coconut Shredded, for coating
Instructions
Preparation
- Crush Oreos into fine crumbs.
- Mix the crushed Oreos with softened cream cheese until smooth.
- Gradually add protein powder, stirring well.
- Adjust the mixture with milk until a firm dough forms.
- Add vanilla extract, salt, and any optional mix-ins you choose.
- Roll the mixture into balls and chill in the refrigerator for one hour.
- Optionally, coat the chilled balls in Oreo crumbs or shredded coconut before serving.


Did you make this recipe?
Share a photo and tag us, we can’t wait to see what you’ve made!